Complex geometric diagrams rarely hand you a single, clearly labeled ratio. Instead, you get nested triangles, rotated rectangles, or overlapping polygons with partial measurements. Interpreting scale factor in complex geometric diagrams matters because it turns visual clutter into solvable proportions. When you can spot which sides correspond and how the sizes relate, you stop guessing and start calculating with confidence. This skill shows up in geometry exams, technical drafting, and any field where scaled drawings meet real measurements.
What does scale factor actually mean in a messy diagram?
Scale factor is simply the ratio between corresponding lengths in two similar figures. In a clean textbook problem, the matching sides line up neatly. In a complex diagram, those sides might be flipped, shared, or hidden inside a larger shape. The number itself tells you how many times larger or smaller one figure is compared to the other. A scale factor greater than one means enlargement. A fraction between zero and one means reduction. The trick is finding the correct pair of corresponding segments before you divide.
When will you need to read scale factors from overlapping or rotated shapes?
You will run into this whenever a problem combines similarity with other geometric rules. Think of a trapezoid split by a diagonal, two triangles sharing a vertex, or a floor plan where rooms are drawn at different magnifications. Architects, engineers, and students working through advanced geometry units all face diagrams where the scale is not explicitly stated. Instead, you extract it from given side lengths, angle markers, or area ratios. If you are working through multi-step problems that chain enlargements and reductions together, you will need to track how each transformation changes the base measurements. You can practice this type of reasoning by working through problems that combine successive size changes before tackling full diagrams.
How do you find the right ratio when multiple figures are involved?
Start by identifying which shapes are actually similar. Look for matching angle marks, parallel line indicators, or shared vertices that force proportional sides. Once you confirm similarity, pick one pair of corresponding sides with known lengths. Divide the image length by the original length to get the scale factor. If the diagram gives you areas instead of side lengths, remember that area scales by the square of the linear factor. That means you will need to take a square root before applying the ratio to other segments. When a single drawing contains three or more related figures, write down each ratio separately instead of trying to hold them in your head. Breaking the diagram into smaller similarity statements keeps the math clean. You can see how this approach applies to questions that mix linear dimensions with area calculations without getting tangled in the numbers.
Where do most students get stuck?
The most common error is matching the wrong sides. Rotated or reflected shapes make it easy to pair a short side with a long side, which produces a backwards or impossible ratio. Another frequent mistake is treating the scale factor as an additive change instead of a multiplicative one. Adding two inches to every side does not preserve similarity. Some learners also forget that a single diagram can contain more than one scale factor. If shape A scales to shape B, and shape B scales to shape C, the overall factor from A to C is the product of the two individual ratios, not their average. Finally, mixing units before dividing creates silent errors. Always convert measurements to the same unit before calculating the ratio.
What steps make complex scale factor problems manageable?
Redraw the relevant parts separately. Pull the similar figures out of the cluttered diagram and sketch them side by side in the same orientation. Label every known length and mark corresponding angles clearly. Calculate one reliable scale factor first, then use it to find missing sides step by step. Check your work by verifying that all corresponding side ratios match the same number. If the problem involves real measurements, keep track of units and round only at the end. When you need to connect these calculations to practical scenarios, like reading blueprints or resizing technical drawings, you can explore examples that tie proportional reasoning to everyday measurements. For additional reference on similarity and proportional reasoning, see the geometry section on Math is Fun.
Quick checklist before you submit your answer
- Confirm the shapes are actually similar using angles or parallel lines.
- Match corresponding sides by position, not by how they look on the page.
- Divide image length by original length to get the correct direction of the ratio.
- Convert all measurements to the same unit before calculating.
- Remember that area ratios require a square root to find the linear scale factor.
- Multiply successive scale factors instead of adding them.
- Test your final ratio against a second pair of sides to catch mismatches.
 Challenging Geometric Calculations with Similar Shapes
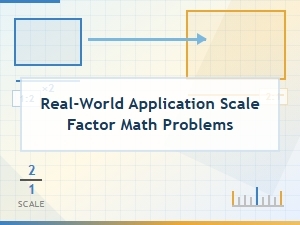 Modeling Global Systems Using Scale Factors in Mathematics
 Solving Multi-Step Scale Factor Enlargement and Reduction Problems
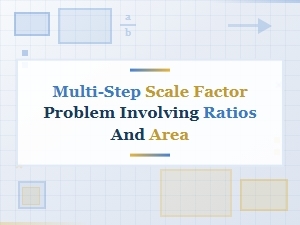 Mastering Multi-Step Scale Factor Challenges with Ratios and Area
 Using Scale Factor Worksheets for Culinary Recipe Conversions
 Exploring Scale with Architectural Model Projects